Subscribe
Information on new and updated products, upcoming events, and more!
Prior to Assembly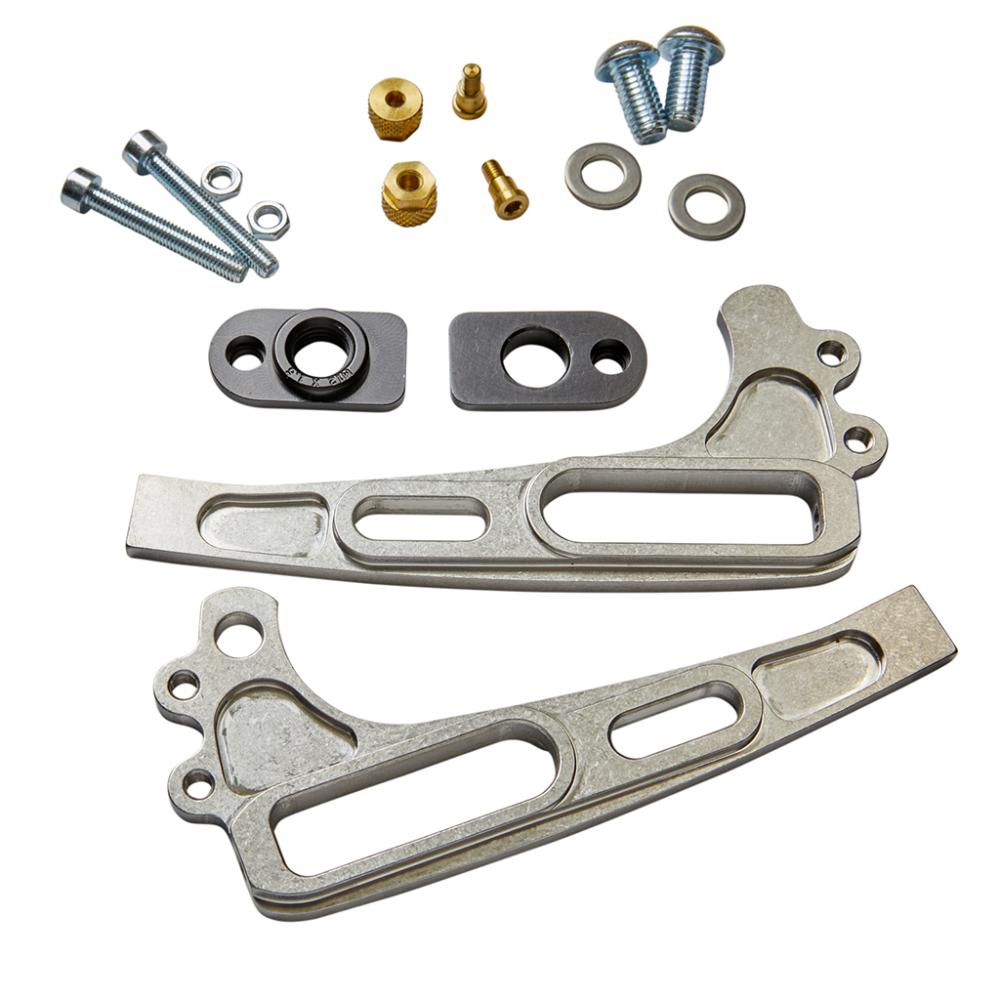
1) Inserts should be free of powder coat/paint in any areas that contact the frame component.
2) M5 threaded hole must be free of powder coat/paint.
3) All components must be clean and dry; do not use lubricants between the insert and frame component.
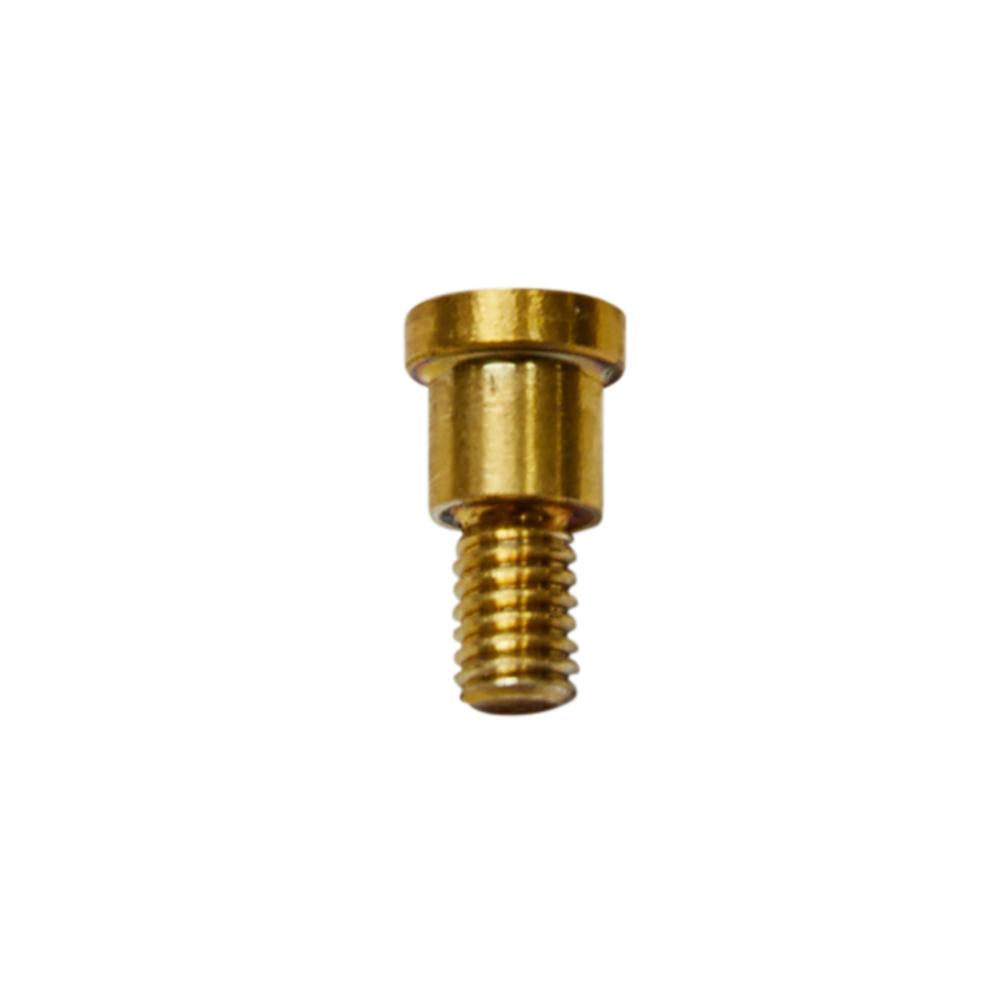
Step 1: Install the SHCS
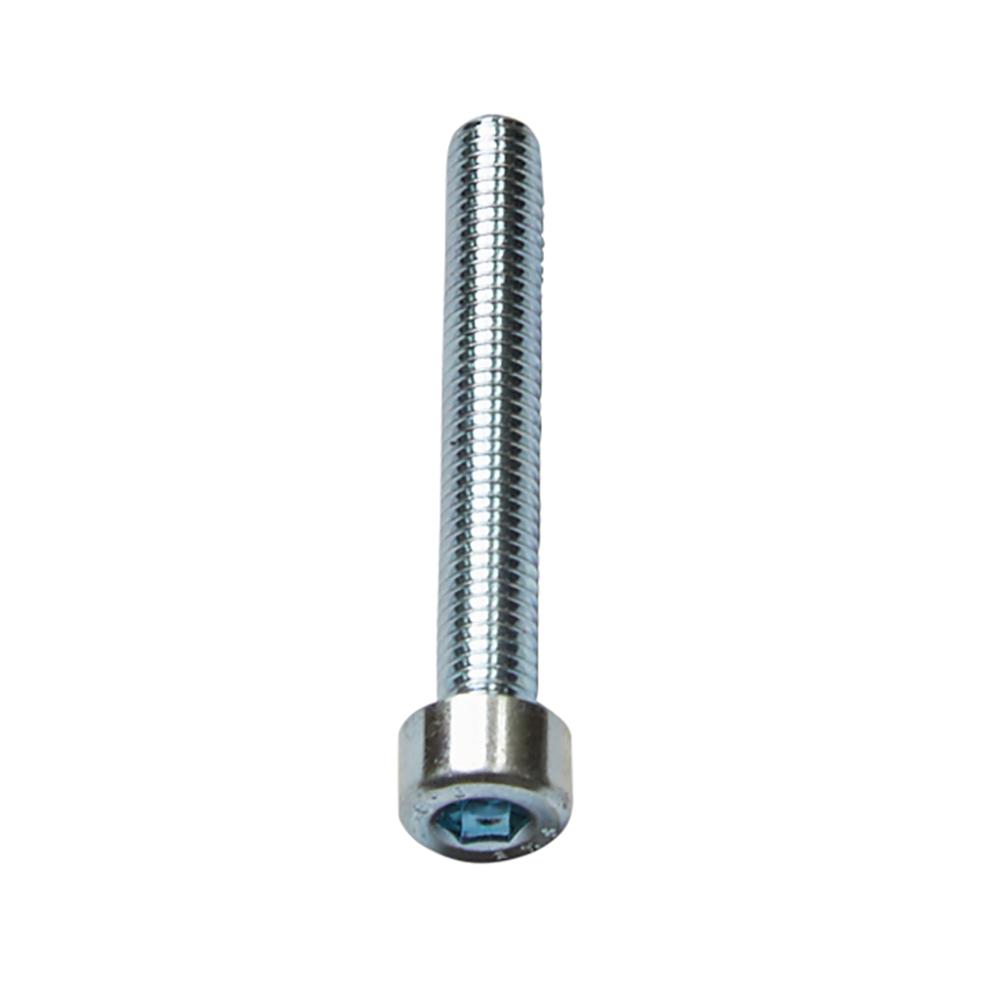
Install the M5 x 35 SHCS in the M5 threaded hole on the frame component, with the head of the screw in the slot.
A small amount of grease or anti-seize on the screw threads and head is OK.
Step 2: Install Nuts
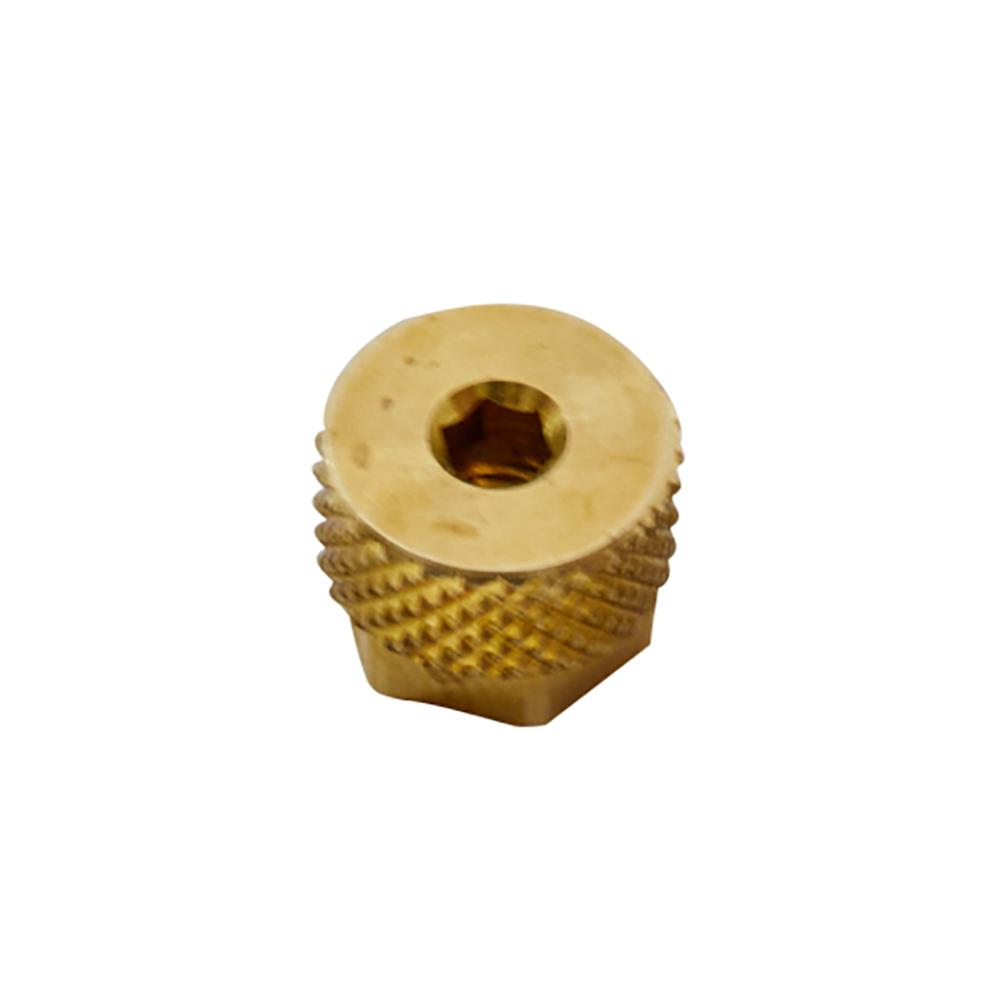
Put the M5 hex nut on the adjusting screw,
Followed by the brass thumb nut.
Step 3: Tighten Screw/Nut
With a 4 mm hex key in the head of the M5 x 35 SHCS, use a 3 mm hex key to tighten the thumb nut on the screw.
With the 3 mm hex key still engaged, tighten the M5 nut against the thumb nut.
For belt drive adjustments, it may be necessary to LocTite the thumb nut and M5 nut onto the screw.
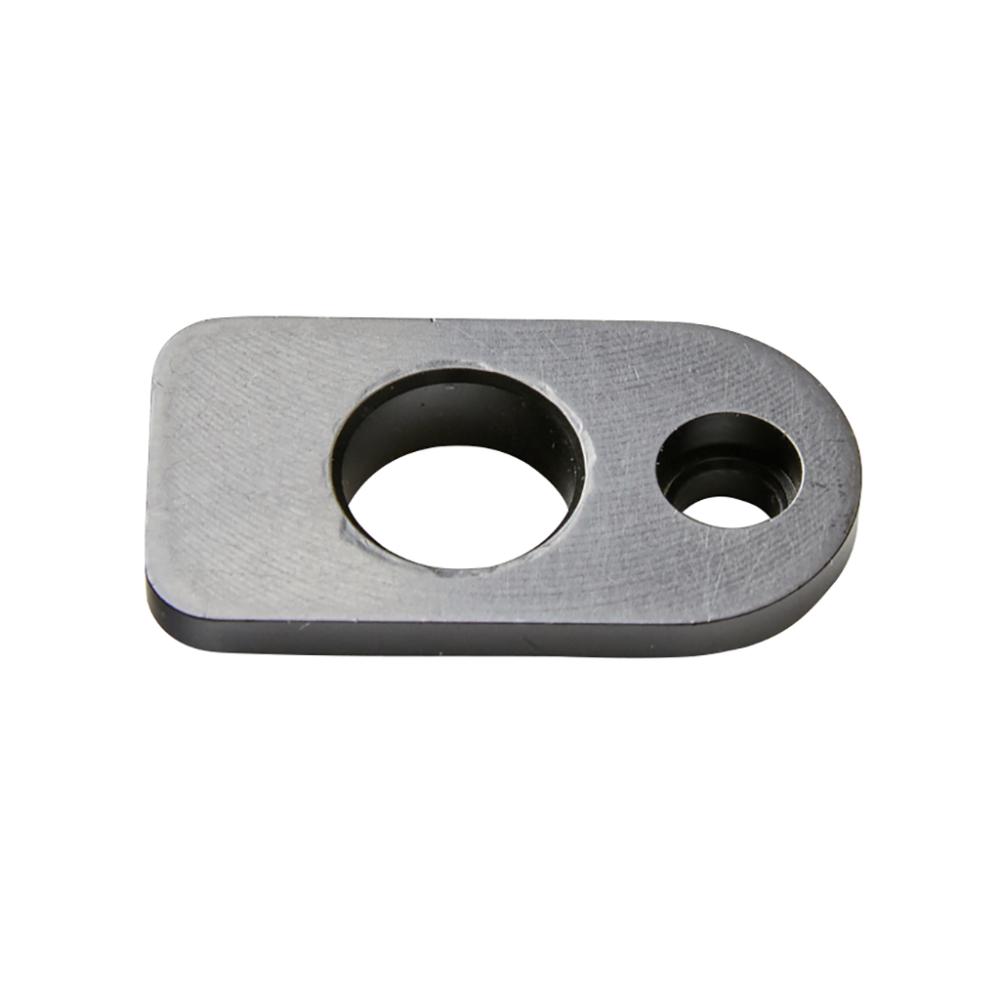
Step 4: Install Insert

Put the insert in the slot, making sure that the head of the screw sits in the relief in the insert.
Step 5: Install Washer/Nut onto Insert
Put the washer on the left side insert and screw head.
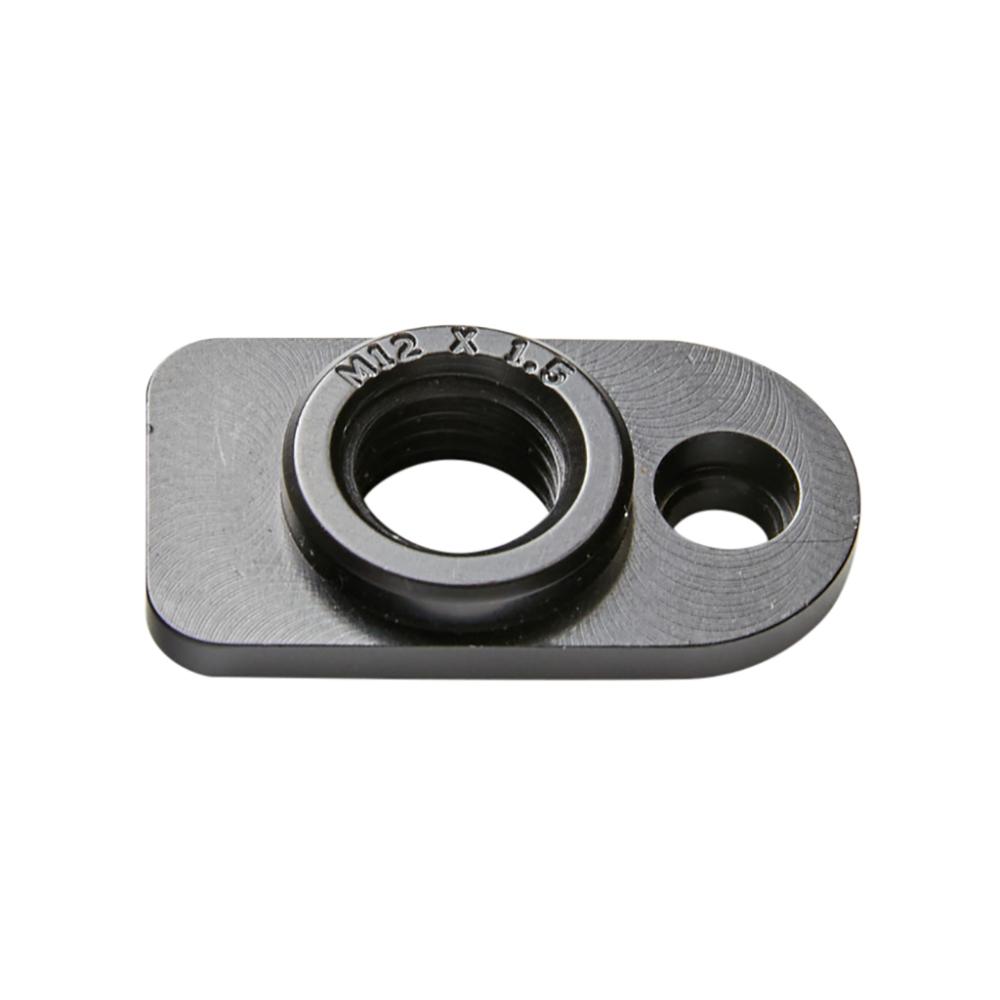
Put the nut on the right side insert and screw head.
Step 6: Secure Washer/Nut
Secure washer and nut with the keeper screws.
The keeper screw holds the washer and nut when the skewer is out, there should be some play in it.
Step 7: Install BHCS/Washer

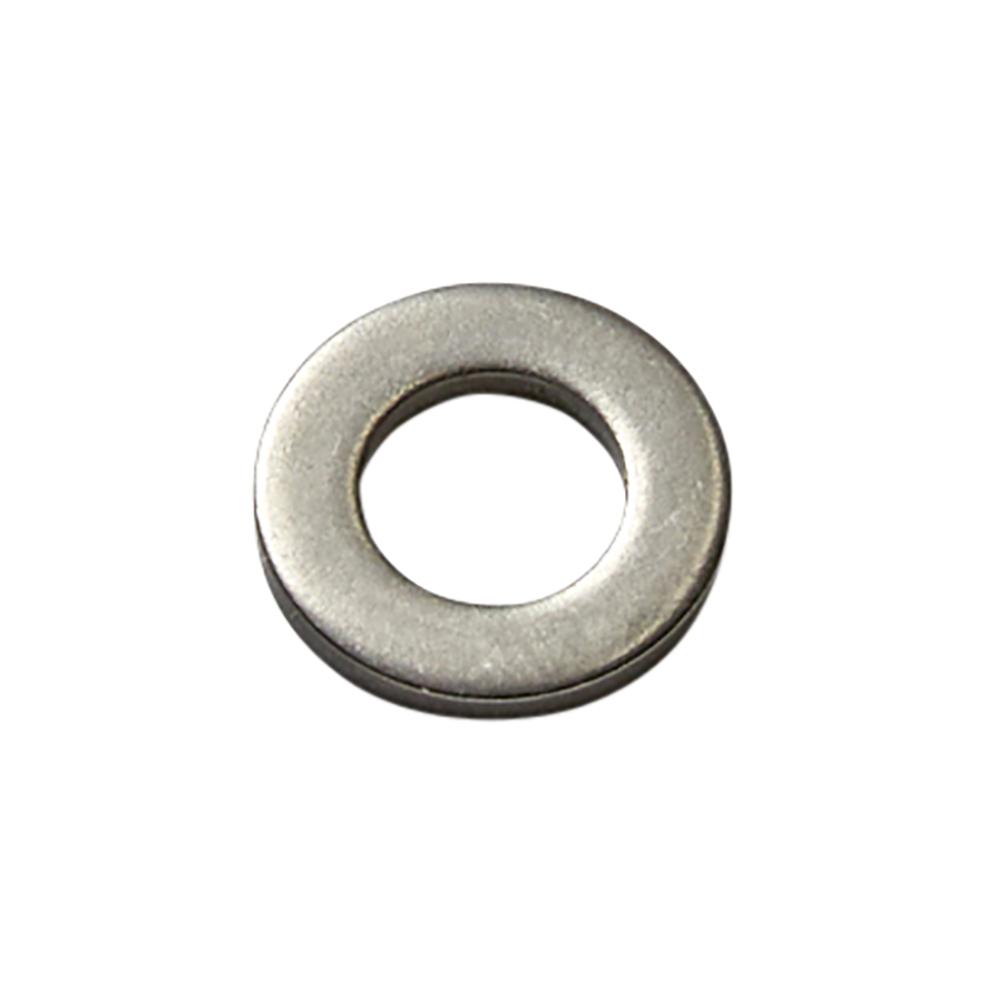
Put the M8 x 16 BHCS through the washer and slot, and into the insert.
Holds the insert in position when the wheel is out.
A small amount of grease or anti-seize on the screw threads is OK.
Loosen for adjustments and then re-tighten.
Step 8: Install Skewer
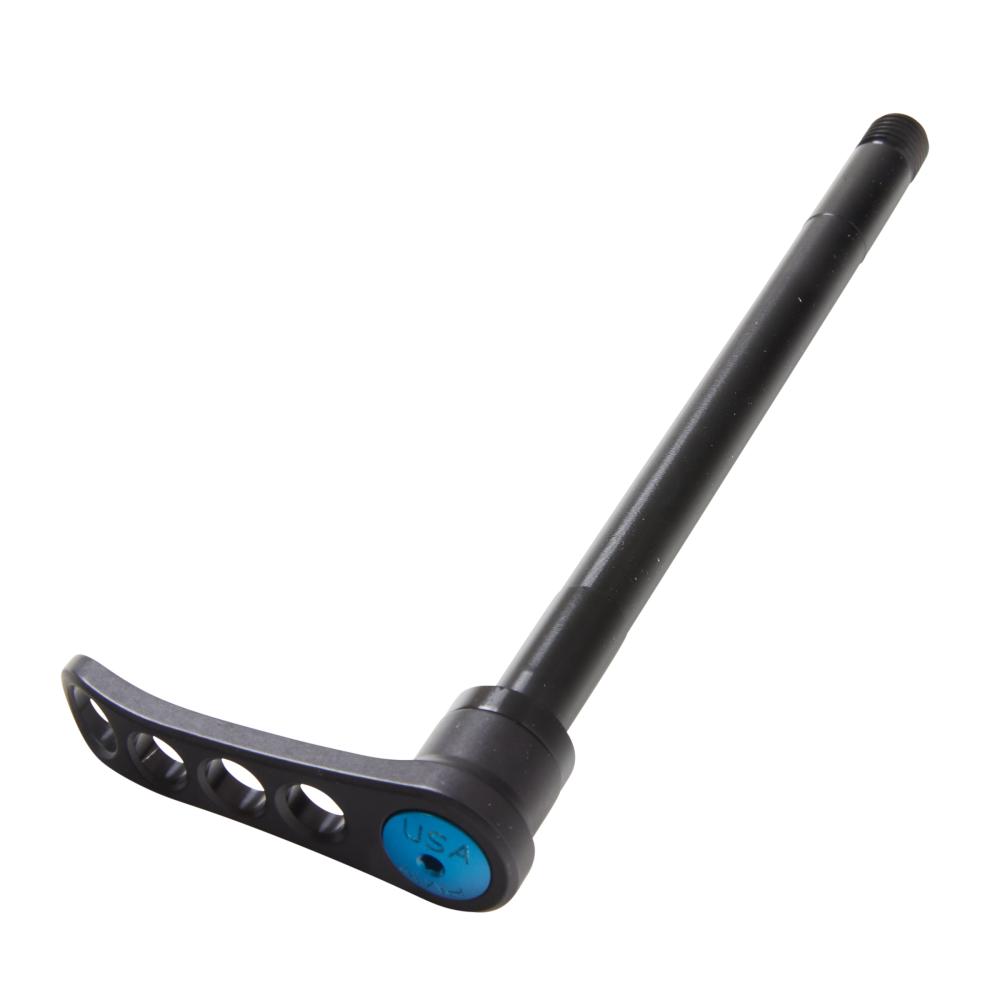
Insert the skewer.
The skewer helps to hold the insert in position when assembled.
Keep it tight during riding.
Step 9: Get on your bike and . . .
Enjoy your ride!